
Why Coil Maintenance Matters
Learning how to fix a coil starts with learning how the coil works. In HVAC, refrigeration, and industrial systems, coils move heat in or out of an air stream. That transfer controls comfort, energy use, equipment runtime, and system reliability.
For HVAC teams, understanding the various coil types means knowing how to distinguish between an evaporator coil, condenser coil, hot water coil, chilled water coil, and steam coil. The evaporator coil absorbs heat from indoor air, the condenser coil rejects heat outdoors or into another heat transfer path, and a steam coil uses steam to heat air, typically seen in commercial and industrial systems.
In this guide, we cover HVAC coils including evaporator coils and condenser coils. We also detail diagnosis, replacement decisions, coil care, and long-term performance.
Common Coil Problems
Some of the most frequent coil problems include leaks, corrosion, fouling, freezing, and airflow restrictions. That’s why a practical approach to repair should start with diagnosis, as a dirty coil and a leaking coil can both show up as weak cooling, longer runtime, or higher operating costs.
Leaks can appear as oil stains, low refrigerant pressure, repeated charge loss, or poor capacity. Since federal rules apply to regulated refrigerants, leak repair should always be handled by certified technicians.
Corrosion, on the other hand, often emerges in coastal, industrial, agricultural, or chemical-heavy environments. Once corrosion spreads across the fins, tubes, headers, or casing, opting for repair will only delay a full replacement.
Fouling is a more typical issue, but it leads to serious performance loss. Dirt, lint, grease, cottonwood, pollen, mineral scale, and process debris all limit airflow and heat transfer. To tackle this, follow coil cleaning techniques such as brushing loose debris from the air-entering side, rinsing with low pressure, and only using cleaners intended for the coil material and soil type. The best coil cleaning products are matched to the metal, coating, and application to prevent damage to the fins or protective layers.
Freezing is another telltale sign of trouble. It can result from low airflow, low refrigerant charge, failed controls, clogged filters, blocked drain pans, or poor load conditions. However, these issues often point to a system problem rather than a failed coil.
When to Repair vs Replace a Coil
Repair makes the most sense when the damage is isolated, the coil is newer, or the system still meets the load. Small fin damage, light fouling, minor casing issues, and accessible tube leaks are usually repairable.
Replacement tends to be the better route when leaks return, corrosion has spread, capacity has dipped, or the original design no longer fits the application. Coil replacement cost ranges are driven by size, materials, coatings, circuiting, pressure rating, access, labor, downtime, and whether or not the new coil must match an older unit.
Before ordering, be sure to confirm coil compatibility. Compare the face size, fin height, fin length, rows, fins per inch, tube diameter, connection size, handedness, casing dimensions, distributor details, circuiting, pressure requirements, and refrigerant or fluid type.
If the system sees repeated service calls, unstable suction pressure, poor discharge air temperature, or rising energy use even after maintenance, it’s likely that replacement is more sensible than another short-term solution.
Steps for Diagnosing Coil Issues
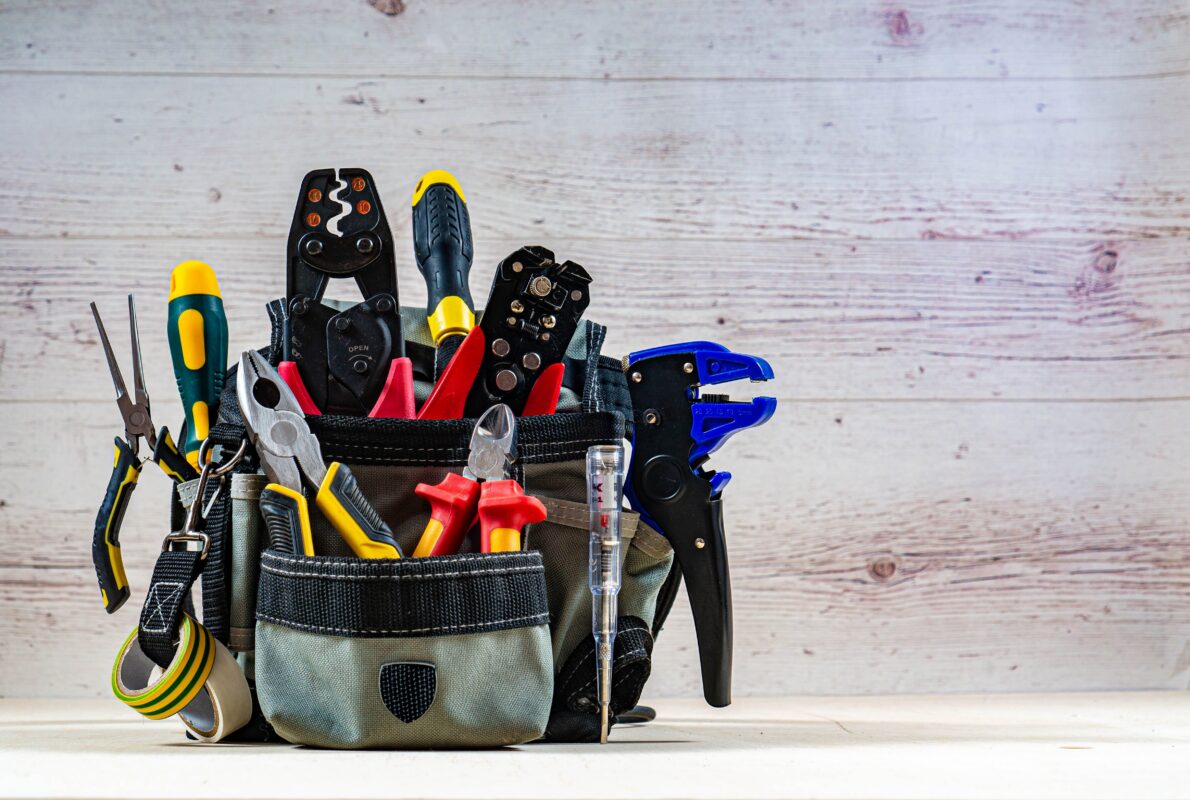
Start with coil safety precautions: Shut down equipment, follow facility procedures, and use lockout/tagout when unexpected startup or stored energy could cause injury. Wear the proper PPE and avoid using tools or cleaners that can damage fins, coatings, or nearby parts. Basic coil repair tools include fin combs, inspection mirrors, flashlights, thermometers, pressure gauges, leak detectors, coil cleaners, soft brushes, and low-pressure sprayers.
Next, inspect the coil face, fins, headers, return bends, casing, drain pan, and nearby piping. Look out for crushed fins, dirt loading, ice, oil stains, corrosion, water carryover, cracked welds, and vibration marks. This is the most straightforward way to pinpoint coil damage.
For teams wondering how to test a coil, the process changes by coil type. Refrigerant coils might need leak detection, pressure testing, superheat and subcooling checks, temperature split readings, and airflow verification. Fluid coils, meanwhile, may need flow checks, pressure drop readings, valve inspection, freeze protection review, and water or glycol quality checks. Steam coils should be checked for trap operation, pitch, condensate drainage, control valve behavior, air binding, and freeze risk.
Importantly, make sure to assess the airflow. Dirty filters, blocked intake areas, fan issues, or a loaded coil face can reduce heat transfer, making the system work harder. Lastly, compare the operating data against the design data. Capacity, pressure drop, air temperature change, fluid temperature change, refrigerant readings, and fan performance all show whether the coil is the main culprit or one part of a larger system problem.
Benefits of Replacing with Custom Coils
Custom coils are advantageous when standard replacements don’t match the original design or the current operating needs. Older air handlers, tight mechanical rooms, unusual casing dimensions, special materials, and high-corrosion environments can make it difficult to find stock replacements.
Across facilities, those challenges connect directly to downtime. A school might need a replacement that fits an older air handler before students return; a data center might need tight heat rejection performance; a food plant might need corrosion-resistant materials or coatings since cleaning chemicals and humidity are part of daily operations.
In any of those scenarios, upgrading coils can boost reliability and reduce repeat service calls. Custom designs also give engineers greater freedom to apply coil optimization techniques, such as better circuiting, selected materials, protective coatings, pressure-drop targets, and design changes tailored to the operating environment.
Preventative Maintenance Tips
For the best outcomes, your coil maintenance checklist should be simple enough for daily use and detailed enough to catch issues before peak use. Inspect the filters, belts, fans, dampers, drain pans, coil faces, insulation, controls, refrigerant or fluid conditions, and any signs of corrosion.
Set a coil maintenance schedule that matches your operating hours and environment. A clean office unit might only need seasonal inspection, but a plant near cottonwood, grease, dust, chemicals, or heavy outdoor debris will call for more frequent cleaning.
Maintain thorough records of pressure readings, temperature splits, cleaning dates, leak findings, repairs, and parts used. Trend data is integral to coil efficiency since it shows slow decline before full failure.
To sum it up: Maintain clean filters, keep the coil face clear, protect fins from impact, keep drain pans open, treat corrosion early, verify airflow after service, and avoid cleaners that conflict with the coil coating.
Stop Repeat Coil Problems at the Source
If you’re still wondering how to replace a coil, comparing repair options, or trying to solve repeat failures, Coilmaster is here to help you skip the guesswork.
Our team reviews the dimensions, materials, performance needs, coil compatibility, and application conditions before designing a custom coil for your system. We also manufacture fluid coolers for the most demanding heat rejection applications.
Contact us today to request a quote or talk through the best path for repair, replacement, or long-term care.